How To Cut Glass Mosaic Tile With A Wet Saw Easily – Follow 8 Simple Steps
As an Amazon Associate I earn from qualifying purchases.
You need to cut mosaic tiles because you value aesthetics around you; I get it. OK, let us get into for what you have come here in the first place.
You can learn about other ways of cutting mosaic tiles on some other day. But if you plan to cut the tiles in high quantity and with care and with perfectness, you are suggested to use a Wet Saw.
Yes, It is time-consuming for some people but has the effectiveness and smooth cutting opportunity if that is what you want.
FIRST THING FIRST:
Contents
1. Safety for yourself:
If you are unsuccessful in selecting the exact right tool as you need, you are working to cut the tiles won’t be easy or perfect. Knowing what tools you need, then some expert near the hardware shop can help you out choosing the tools. Get a glass with side-shields, be sure to have a rubber glove. Adhesive matter/glue.
2. Calculate the number of tiles you need to buy:
Be sure to calculate the number of tiles you will need because you don’t need to waste your money or tiles if you do not have the plan to use them again.
3. Buy or renting the wet saw:
If this is your first- and last-time of installing the tiles, you should obviously borrow or rent a wet saw, but if you have plans for using the saw more than one time, you should buy one permanently as renting is expensive these days.
You can buy portable tile saws, and they aren’t heavy expensive.
4. Use Tapes:
you can use floor marking tapes to make a slab from tiles if you plan to cut too many tiles. If you don’t have these kinds of tapes, use any wide tapes you have, which tapes can remove easily without affecting the chosen mosaic tiles.
5. Use Removable/Washable Marker:
Get a removable marker; you will need to create guidelines on the slab to cut precisely according to your need.
6. Attention on Cutting:
Cutting tiles is not any dramatic or critical task, but your life can be a little surprising if you are not careful enough. So pay attention to your work.
7. Start cutting your tiles:
After marking, your next step check your water supply tank; if it is full with enough water or has a continuous water supply connection with a tap, then turn on the saw. Start with a slow approach; don’t rush too fast.
8. Install the cut tiles with the help:
It is the least easy task among these. But if you are not sure enough to place the tiles in your kitchen/bath or elsewhere, call someone to help you settle the tiles quickly.
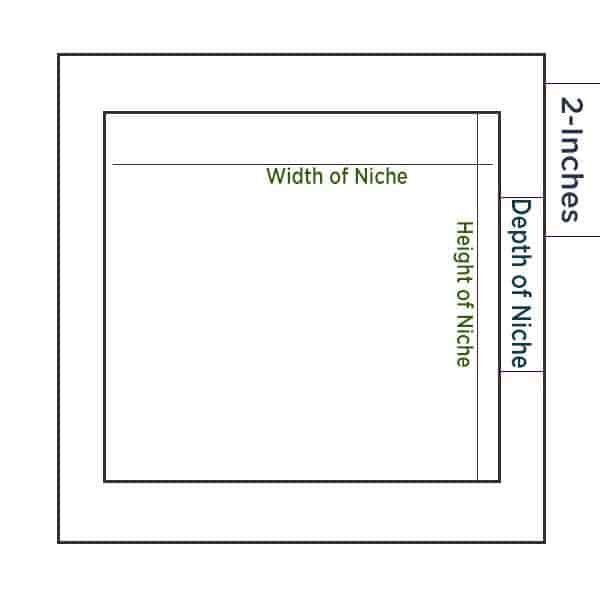
(It is just a simple graphical illustration at first hand if you ever need it in the near future.)
The steps have been discussed elaborately below in 2 ways:
At first, place all the tiles on a platform, side by side. The surface should be plain as pure, which means clean, make 100% confirmed that there is no unwanted dust on the plain’s surface.
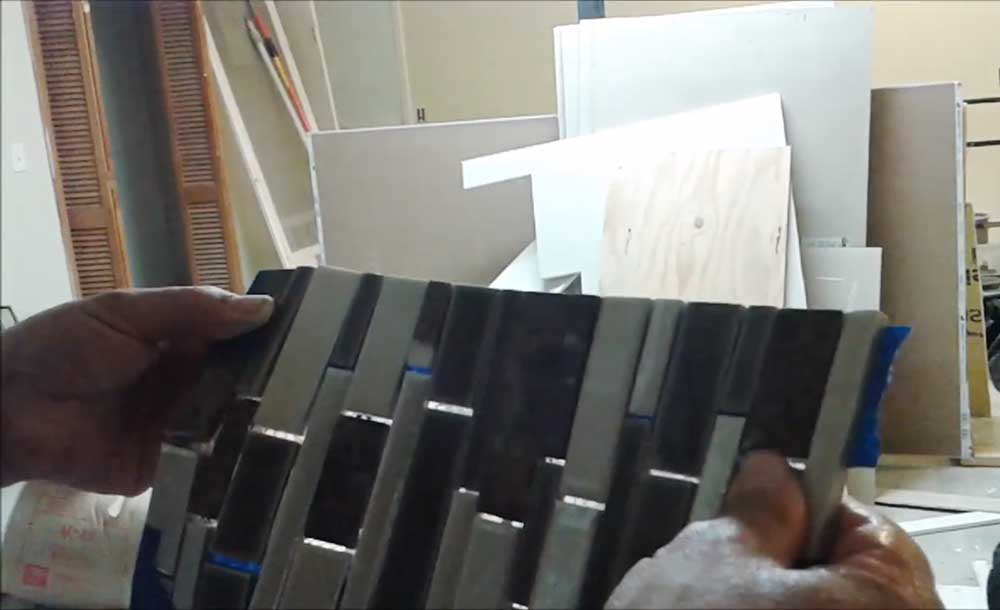
Here comes the “tape” to play. Tape them on over the tiles where it is all connected at the edges with a little Gap (keep them tends to no gap at all.)
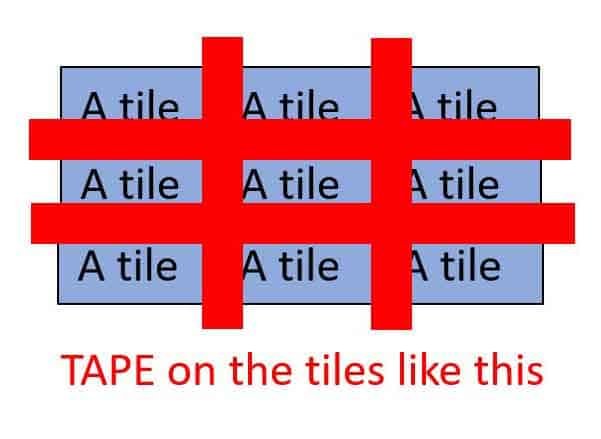
Take one of the tapped slabs of tiles according to your need.
Your wet saw is different obviously, but the mechanism is tending to be the same. But there is a little need for the learning curve.
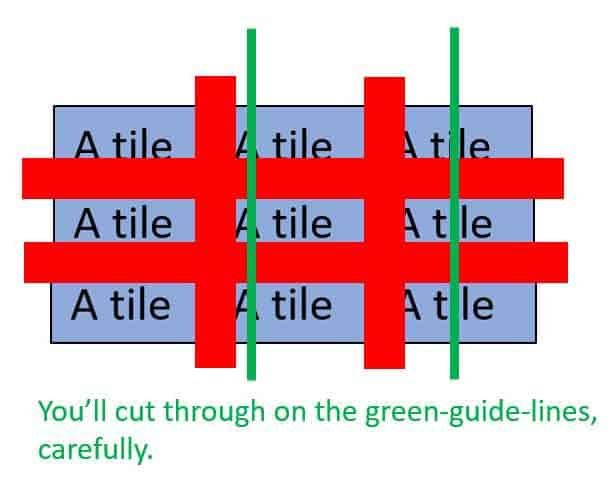
Before cutting each slab, you need to ensure that the marker you will use is removable/washable. So, the lines can be easily wiped by the cloth you will have.
Wait, before getting into cutting each of the slabs of tiles, make sure to put on a peer of gloves but also make sure not to use any fabric or leather gloves; these gloves will not help you here. As a recommendation, you should wear a rubber glove.
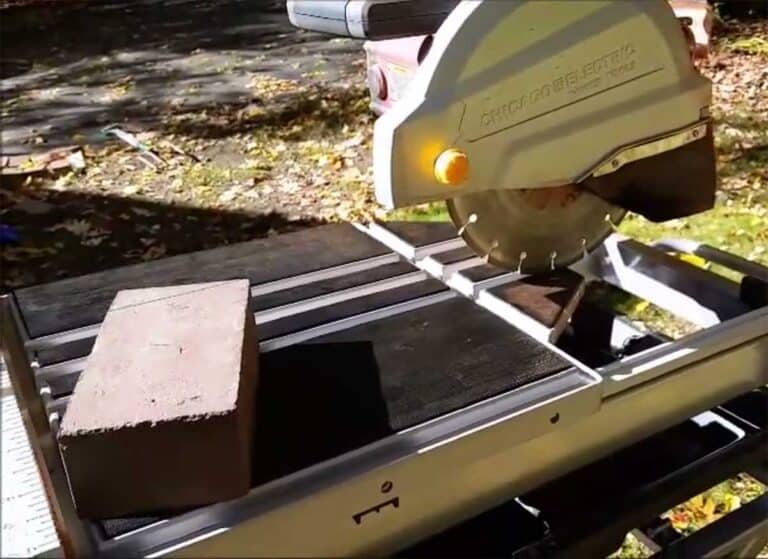
Now, it is the moment for gearing ON the wet saw by allowing the flow of water indefinitely for about 20 to 30 seconds, but you have to flow it all way to the saw’s blade.
By the way, you need to choose the wet saw carefully based on the tiles you have chosen. When you are mentally prepared to start cutting, make sure to put on glass (with side-shields), so that your precious vision is safe for the rest of your life.
Now be sure to fill up the tray/tank with water. Make sure to use the clamps in order to ensure that the tile is placed strictly (if you have the plan to cut the tiles one by one).
Moving on, you have to move the tile with steadiness, take your time, cut each one of them in the exact quantity, you will get used to it. Obviously, don’t rush or put the tiles into the saw too fast; start with a slow approach,
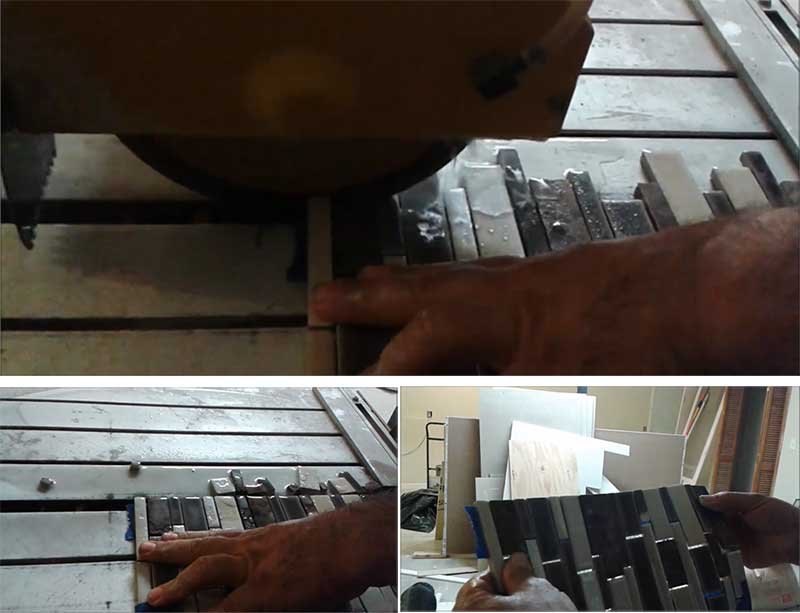
Finally, the photo you see below is the mechanism of cutting the slab you noticed earlier. Now you know two methods of cutting Mosaic Tiles according to your need. But if you need to cut too many tiles simultaneously, use the mechanism that I had discussed earlier.
Now you have successfully cut your tiles, consider installing them carefully with some kind of strong adhesive material found next to your nearer shop.
FAQs
What is the best way to cut glass mosaic tile?
There are few ways to cut glass mosaic tiles. You can easily use wet tile saws, angle grinders, snap or tile cutters. You can pick any of these tools according to your needs, but you are dealing with hundreds of tile, you should go for a wet tile saw.
Can I cut porcelain and ceramic tile with a tile saw?
Yes, you can. Infect cutting with the wet tile saw is the most popular and effective way to cut a tile. While you’re dealing with porcelain or ceramic tile, you don’t need to use tapes if you want to cut without it.
Using a wet tile saw for cutting porcelain and ceramic tile is more beneficial and handy because you can cut hundreds of tiles in one tile. For heavy contraction projects, you should use a wet tile saw.
What is the best blade for cutting glass tile?
No matter what tile you’re cutting, always try to use a diamond blade for better performance. Diamond tipped blade is made to cut this kind of heavy task and produce great smooth cuts for your projects.
Some Safety Tips with Ending Note:
It is not massively tricky; yes, if you’re a newbie, you may face some difficulties initially, but trust me after cutting a few tiles, you won’t be uncomfortable with it. In the end, here are some safety tips for you.
Make your working station safe from anyone, including you, do not let anyone come close to the working station if they do not have the protective materials. Because while you are cutting the tiles, those unseen little pieces can get into the eyes of someone.
If you are confused, don’t start working. Be 100% sure that you have the right tools for your job to do.
It is not that hard. You can do it.

